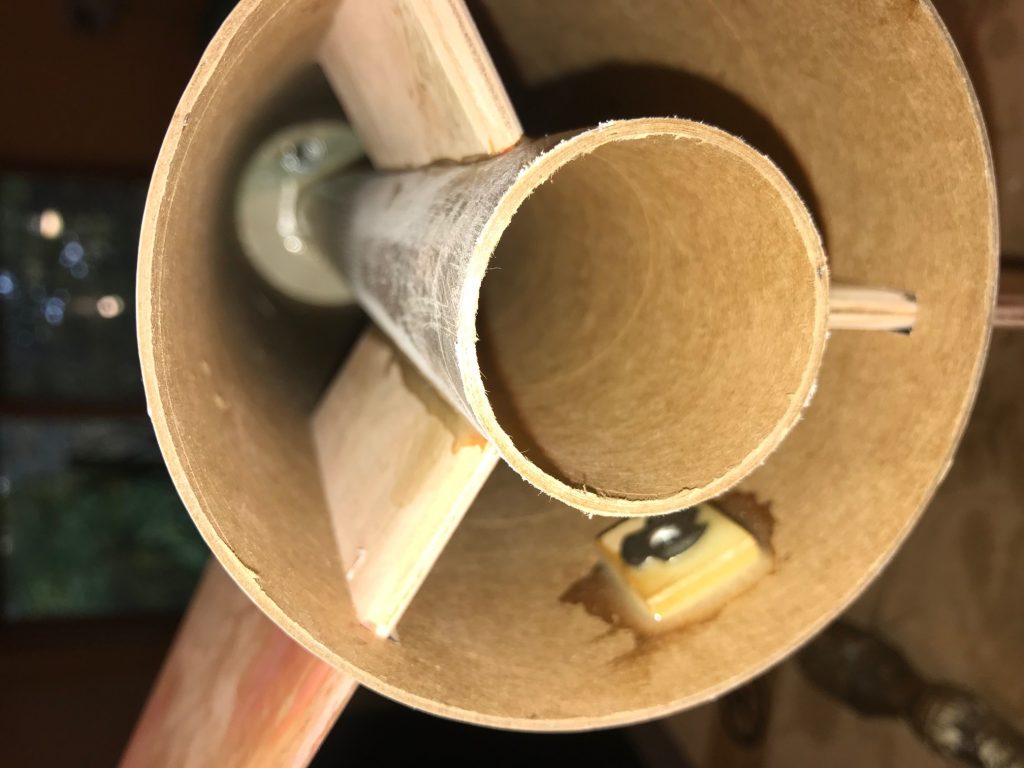
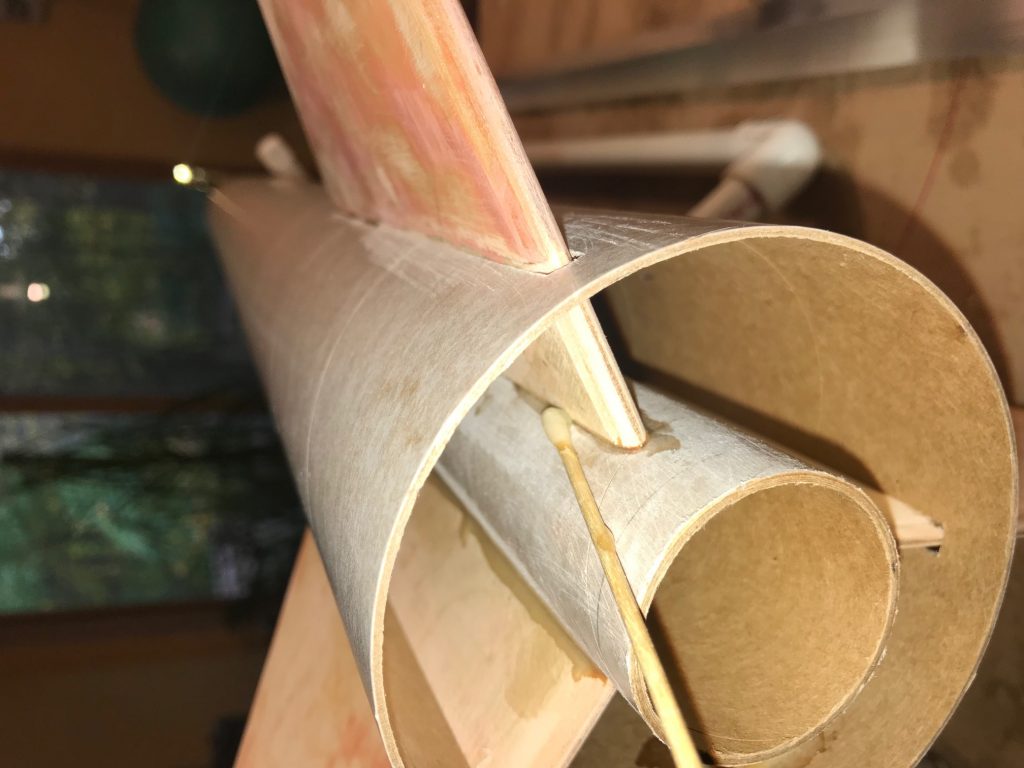
It’s time for this to take some shape and put the fins on. After dry fitting the fins, I applied epoxy to the root edge and attached them to the motor mount tube. The slots are a really tight fit and I did end up opening them up a bit with some 120 grit sandpaper.

After the epoxy cured, I added interior fillets.

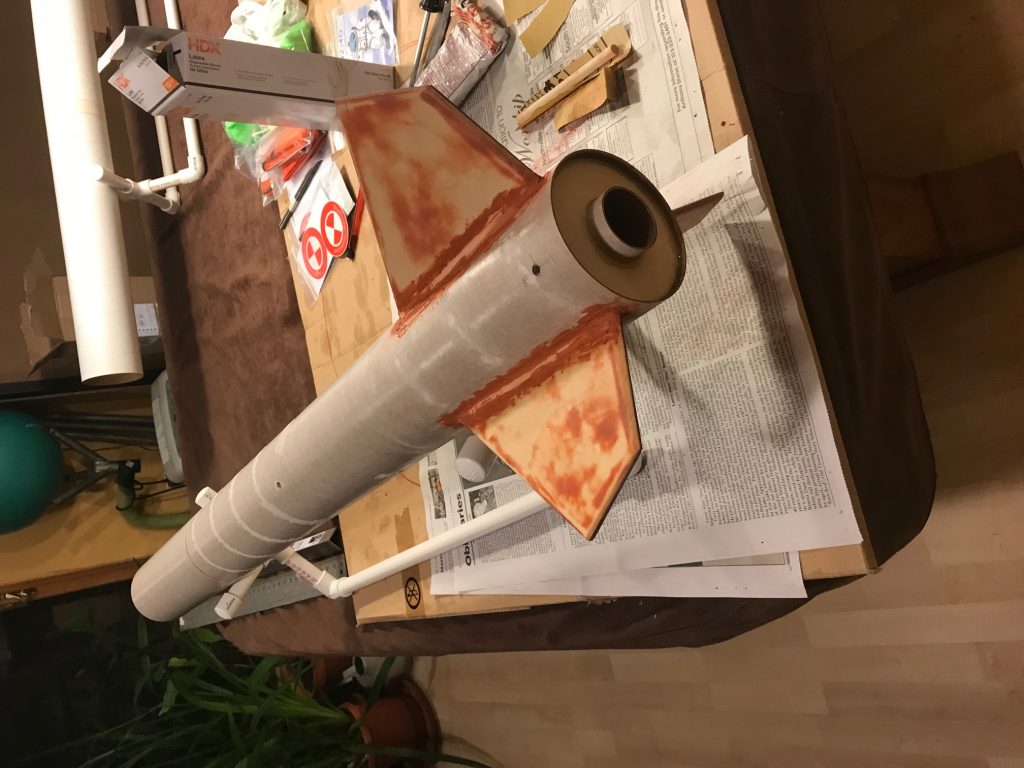
The picture above shows the interior fillets to the motor mount. I also added some pure epoxy fillets at the fin/body tube joint as well, but didn’t take a photo. After the interior fillets dried, I added exterior fillets using 30 min epoxy loaded with glass microspheres. It was my first time working with this, and I wasn’t terribly happy with my skill level. I ended up using some glazing putty to clean and level them out. It doesn’t look all that pretty now, but it will be once all sanded and primed. I also started to fill some of the spiral seams.

I forgot to mention that I did also epoxy on the rear centering ring. I’m going to use an Aeropack motor retainer, so I applied painters tape to protect the area on the motor tube where the retainer will be to make sure I didn’t get any epoxy on it. I’ll put the retainer on after I paint the model. After cleaning the fillets and finish filling the spirals, it will be primer, paint, and dealing with the altimeter bay. I ordered an EggTimer Quantum which should be here in a few days. I still need to decide what to use as the backup. I also plan on 3d printing an altimeter sled to fit the components. At the rate winter is setting in, it may be spring before I get level 1 cert…
