Things are starting to really take shape with the Torrent. I’ve finished a few steps where I didn’t take photos and post. I performed the following steps: glued the spacer ring to the altimeter bay/coupling, drilled the vent hole for the barometric pressure sensor, and glued together the plywood end piece for the altimeter bay. All of these steps followed pretty much exactly as on the Apogee Rockets website instructions.
The next step though is to prepare for the shear bolts. For dual deployment, the drogue will come out of the main booster tube, and the main chute will come out of the short section of tube between the nosecone and the altimeter bay. After the drogue deploys, it’s important that the upper portion of the rocket stay together to prevent the main cute from either deploying too high, or partially opening where the main chute doesn’t deploy at all. The kit does not come with shear bolts, or any instructions to add them. The Apogee tutorial on this build also does not have shear bolts, so I’m assuming that the intent of the kit is to rely on the friction fit of the nose cone to the extension tube to hold everything together, or possibly to use tape. Either way, I don’t really care for it. I added 2-56 nylon shear bolts to my kit. Each shear bolt should break at about 25 lbs of force. This is enough to easily hold everything together, but not too much that a deployment can break the pins and eject the main chute. Having never done dual deployment, I’m relying on advice from friends and some calculations. This is a rocket that I want to get a lot of miles out of. I’m afraid that the shear bolts will chew up the cardboard after several launches. Therefore, I removed two layers of cardboard from the inside of the tube and replaced it with 0.016″ brass sheeting.

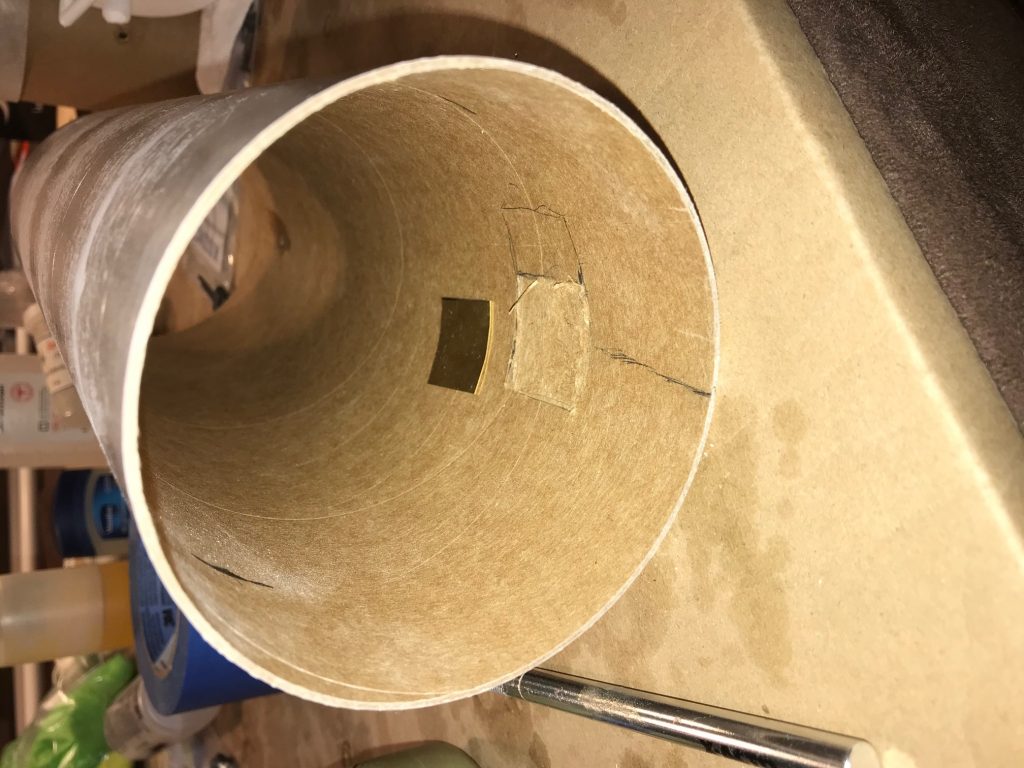
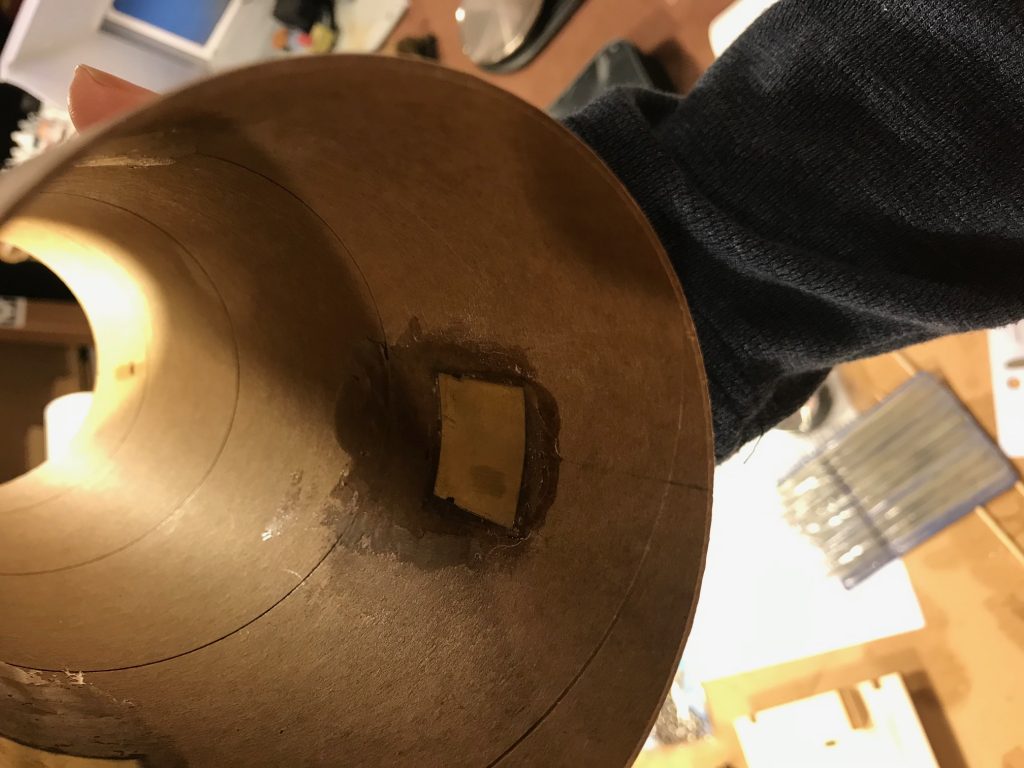
The first step was to cut a 1″x1″ square of 0.016″ thick brass stock. I picked up a decent sized piece of the brass from the local hobby shop for a couple dollars. The piece was bent into the approximate curvature of the body tube. I then carefully scored the inside of the body tube and peeled up two layers of cardboard. This was approximately the thickness of the brass piece. 30 min epoxy was applied to the exposed cardboard and the brass piece was placed in the opening. I covered this with wax paper and used the coupling piece as a mold to press the brass piece into the cardboard while the epoxy cured.

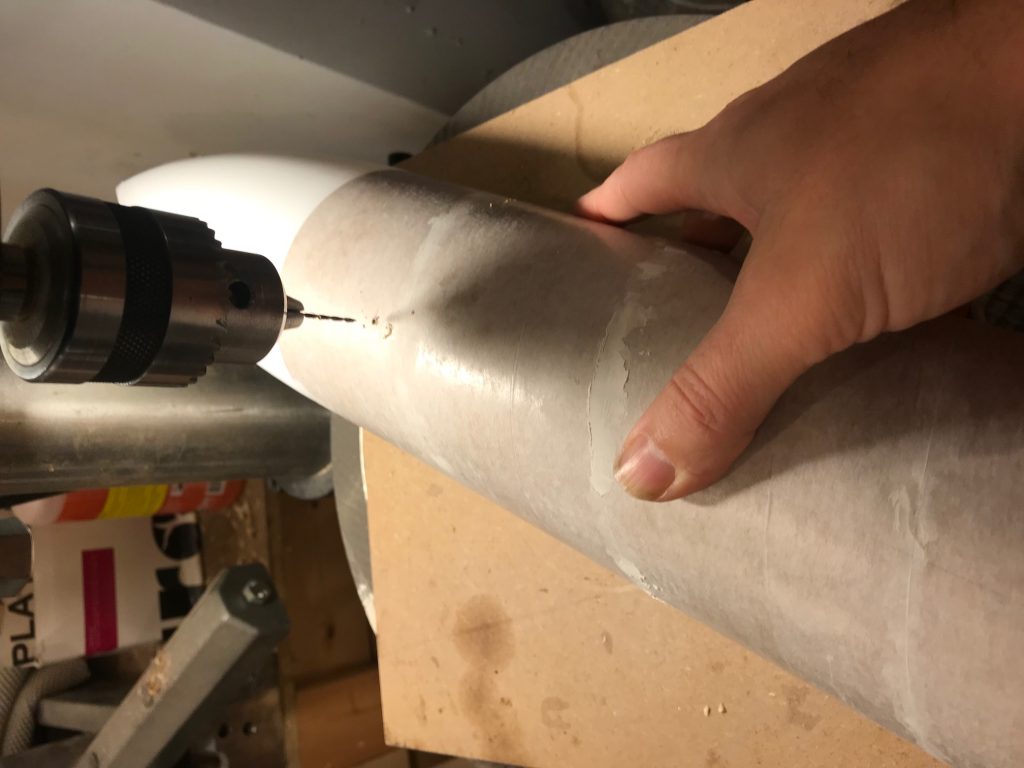
After the epoxy was cured, I added another layer of epoxy over the brass piece and repeated the process. This resulted in a smooth surface so the nose cone will not catch. This was repeated three times for three shear bolts. The next step was to drill the pilot holes for the 2-56 screws. I did this with the nose cone attached so that the holes line up.

After the holes were drilled, I dripped in some thin CA to harden the cardboard area as well. Unfortunately, I didn’t have a 2-56 tap, so I placed another order on Amazon and will tap the holes at a later time.
I’m hoping to get the rocket in primer and paint soon. Still deciding on a color scheme, but thinking some combination of yellow and blue. While painting, I’ll start working on the altimeter bay. While not necessary for the level 1 certification, I’d like to at least get started on it.
